In a way, sliding barn doors are the pocket doors of the modern design world, with the biggest difference being the exposed hardware and the ability to use almost any door. The trendy look combines farmhouse and industrial elements to take a standard door from drab to fab. Best of all, a barn door requires no hinges or door jamb, making it the perfect DIY solution for closing off hallways or areas with no existing door frame.
Pick and Purchase Materials
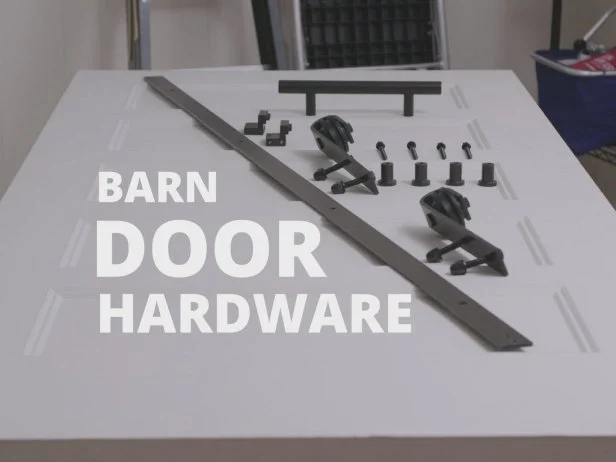
Start by choosing your dream door. Whether you opt for a new door from the hardware store or take the upcycling route with a vintage or antique door, the choice is yours. As long as the door is wide enough and long enough to cover the opening, it can be turned into a sliding barn door with the proper hardware kit. There are several varieties of barn door hardware, so choose the color and design that best suits your style, but be sure the rail is long enough for your door to fully open and close.
To transform your door into a barn door, begin by laying out the included template according to the manufacturer’s instructions. Use a center punch or other pointed object to transfer the template-marked holes onto the door and drill using the instructed bit size (Image 1). Keeping your drill level is key to ensuring the end result looks great (Image 2). If your barn door hardware kit does not have a template included, simply place the hardware on the door and trace the bolt holes to figure out where to drill your holes. Attach the hardware to the door with the included nuts and bolts.
Attach Rail and Mount Door
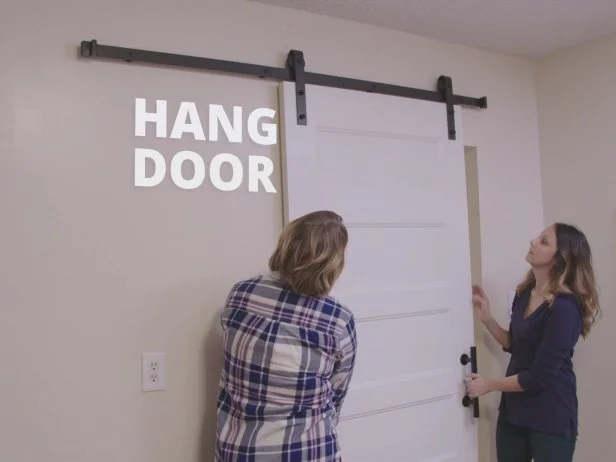
Use a stud finder and pencil to locate and mark the studs above your opening and on the side your door will slide to. Once marked, measure the total length of your door and hardware, then add 1 inch for clearance from the floor and mark this height on the wall. Once marked, use a level to accurately mark this height across each stud. Check that the pre-drilled holes on the rail line up with the studs and drill the holes using the instructed bit size. Once drilled, place the rail over top of the spacers and fasten in place using the provided hardware. Once mounted, fasten the door stops on each end and place the door on the rail to complete your fab farmhouse look.
Pro Tip: The barn door rail will likely have pre-drilled holes for studs located on 16-inch centers. In a perfect world, these would be perfectly positioned to line up with each stud you marked. However, many older homes have randomly placed studs on smaller or larger centers which may require you to drill out extra holes in your rail to line up with the studs. To drill through the metal, use a standard drill bit, but occasionally squirt the bit and surrounding area with water to keep the bit cool and lubricate the metal. If the metal is too hard, cutting oil may be necessary.